TL;DR: Learning how to set up camping lights comes down to zoning your camp: bright task lighting for cooking, warm diffused light inside tents, downward low-lumen markers for guy ropes, and dedicated red or low-beam head torches for toilet visits to conserve night vision.
| Zone | Primary Task | Recommended Lumens | Light Colour & Beam Type | Mounting Method |
|---|---|---|---|---|
| 1. Kitchen & Prep | Food prep, cooking, dishwashing | 150–300 lm (Task) | Neutral white flood / amber bug light | Adjustable stand or gazebo pole clip |
| 2. Tent Interior | Changing, reading, winding down | 10–50 lm (Ambient) | Warm white or soft red, 360° frosted | Ceiling gear loop or magnetic badge |
| 3. Paths & Guy Ropes | Hazard marking, perimeter awareness | 1–10 lm (Marker) | Coloured beacon, amber, ground-facing | Peg-level stakes or rope clips |
| 4. Loo Run | Transit, wildlife spotting, hygiene | 30–120 lm (Mobile) | Focused beam with red auxiliary mode | Headband or hands-free chest clip |
Heading into the Australian bush without a lighting plan often results in blinding overhead lanterns, swarms of nocturnal insects, and depleted vehicle batteries. Mastering how to set up camping lights across defined functional zones turns a chaotic campsite into a safe, calm retreat. In this guide, we break down practical zoning techniques, explain how to choose camping lights for regional conditions, and review the best camping light setup configurations for reliability and minimal glare.
Table of Contents
- Quick answer: plan four zones, give each its own low-glare light and keep one head torch per person
- Zone 1: the camp kitchen and prep bench
- Zone 2: inside and around the tent
- Zone 3: paths, guy ropes and the car
- Zone 4: the loo run and waste area
- How many lumens does each zone need?
- Which lights should stay on all night, if any?
- Frequently asked questions
Quick answer: plan four zones, give each its own low-glare light and keep one head torch per person
The secret to knowing how to set up camping lights effectively is to avoid relying on a single, high-powered lantern suspended in the middle of your camp. A massive central light creates harsh shadows, casts intense glare directly into your eyes, and acts as a beacon for moths and beetles. Instead, divide your camp into four distinct work and rest areas: cooking, sleeping, access paths, and amenities.
Each zone requires a specific beam pattern and brightness level. Diffused, warm light works best where people relax, while direct downward task lighting keeps prep benches safe for knives and camp stoves. When evaluating how to choose camping lights, personal hands-free illumination remains essential. Having an individual wearable light for every camper ensures that perimeter movements do not disrupt communal relaxation or night-adapted vision.
Zone 1: the camp kitchen and prep bench
Food preparation requires clean, shadow-free illumination so you can inspect raw ingredients, check gas burner flame heights, and clean utensils safely. In this primary work area, downward-directed task lighting between 150 and 300 lumens positioned slightly above eye level prevents you from working in your own shadow. Mounting your lantern on an elevated surface keeps prep tables clutter-free and directs illumination exactly where cooking utensils are handled.
For the camp cook, combining a broad overhead fixture with a multi-directional light source ensures safety around boiling water and gas fittings. Setting up an Olight light stand for how to set up camping lights allows you to adjust the lighting height over folding tables without relying on nearby tree branches or awkward awning brackets.
 Olight Light Stand
Aluminium alloy with two-stage telescoping height
Olight Aluminium Alloy Light Stand
- Standard 1/4-inch screw nut compatible with outdoor lanterns
- Two-stage telescoping mechanism (200 mm to 312 mm adjustable height)
- Stable circular platform base with silicone adjustment ring
- Detachable two-section structure for easy packing
Insects pose a significant challenge when establishing a camp kitchen in warm Australian environments. Australian wildlife guidelines demonstrate that artificial white lighting heavily disorients nocturnal insects and fauna (Source: Australian Department of Climate Change, Energy, the Environment and Water). Positioning warm or amber illumination away from direct meal-eating zones draws insects away from dinner plates.
Zone 2: inside and around the tent
Inside the sleeping shelter, high-output lamps produce unnecessary glare on nylon tent walls. When reviewing how to set up camping lights for a swag or family tent, prioritize diffused, low-output lighting ranging from 1 to 50 lumens. Diffused orbs hung from an internal gear loop supply gentle ambient illumination for organizing sleeping bags and reading without disturbing tent mates.
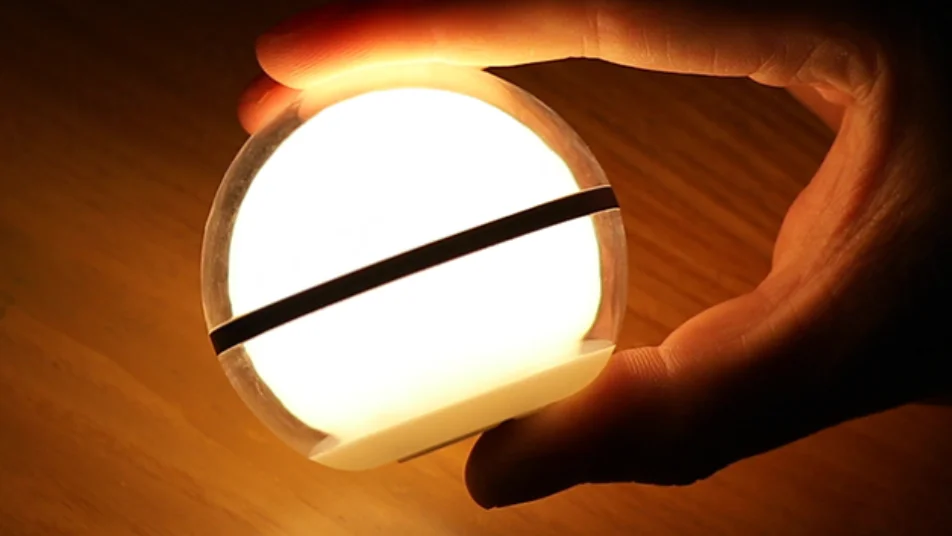
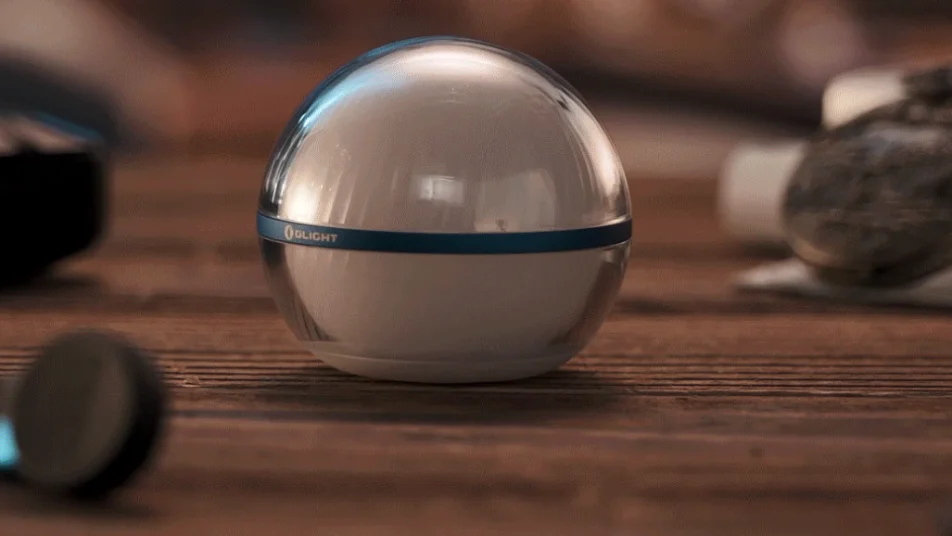
A compact magnetic orb like the Obulb Pro S lantern for how to set up camping lights delivers stepless dimming, IPX7 water resistance, and an adhesive metal badge that attaches securely to tent fabric or awning poles without puncture risks.

Obulb Pro S
App-controlled magnetic tent orb
Olight Obulb Pro S Rechargeable Light
- Max 240 lumens with stepless manual or app-controlled dimming
- Low output mode runs up to 156 hours (6.5 days) on 0.8 lm
- Built-in magnetic base with included adhesive metal badge
- IPX7 waterproof and 1.5-metre impact resistance for rugged bush use
Red and warm orange modes are especially valuable inside the tent. Red light protects your scotopic vision, meaning you can step outside into the dark without waiting several minutes for your eyes to readjust. A well-designed tent lighting scheme forms the foundation of the best camping light setup because it maintains tranquility throughout the campsite.
Zone 3: paths, guy ropes and the car
Trip hazards around awnings, tent pegs, and tailgate drawers cause frequent camp injuries once darkness falls. When studying how to set up camping lights along pathways and perimeters, the goal is subtle navigation rather than daylight-level illumination. Low-output downward markers or reflective marker tags placed near guy ropes guide foot traffic without spilling light into neighbouring swags.
For the vehicle tailgate or 4WD canopy, magnetic-base lights offer practical flexibility. Fastening an auxiliary magnetic torch to the underside of a steel roof rack or canopy hatch illuminates dual-battery fridges and tool drawers hands-free. State park authorities urge campers to shield ground lighting to prevent disorienting native animals while moving across campsites (Source: Parks Victoria Camping Safety Regulations).
 Directing task lighting downward at the tailgate keeps vehicle equipment organized without causing campsite glare.
Deploying small, low-intensity beacons alongside high-traffic paths preserves the dark-sky experience while eliminating painful toe stubs against steel tent stakes.
Zone 4: the loo run and waste area
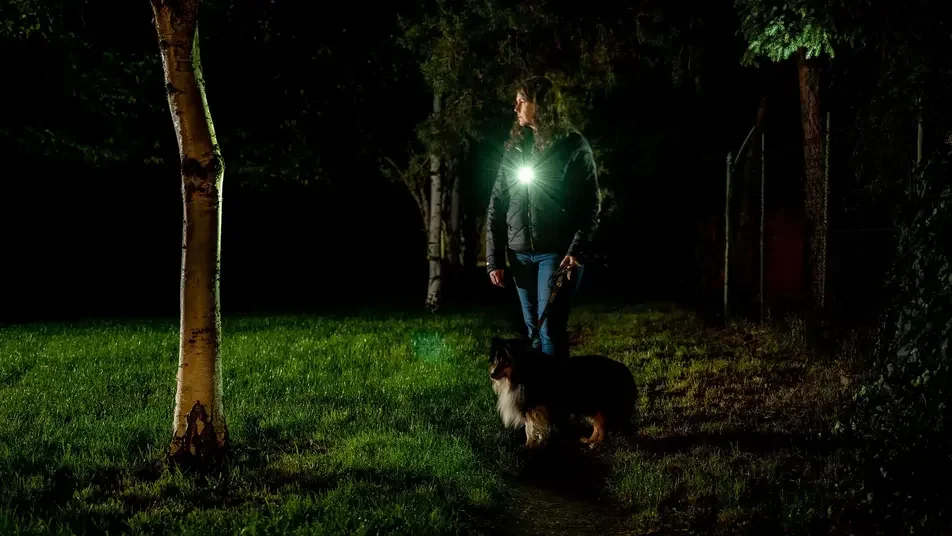
Walking to the amenities block or a bush drop toilet at 2:00 AM requires directional light that travels with you. Avoid carrying an omnidirectional lantern on night walks; swinging lanterns create disorienting moving shadows and flash blinding light into sleeping tents. Instead, individual headlamps with red auxiliary modes provide hands-free visibility while keeping footsteps quiet and safe.
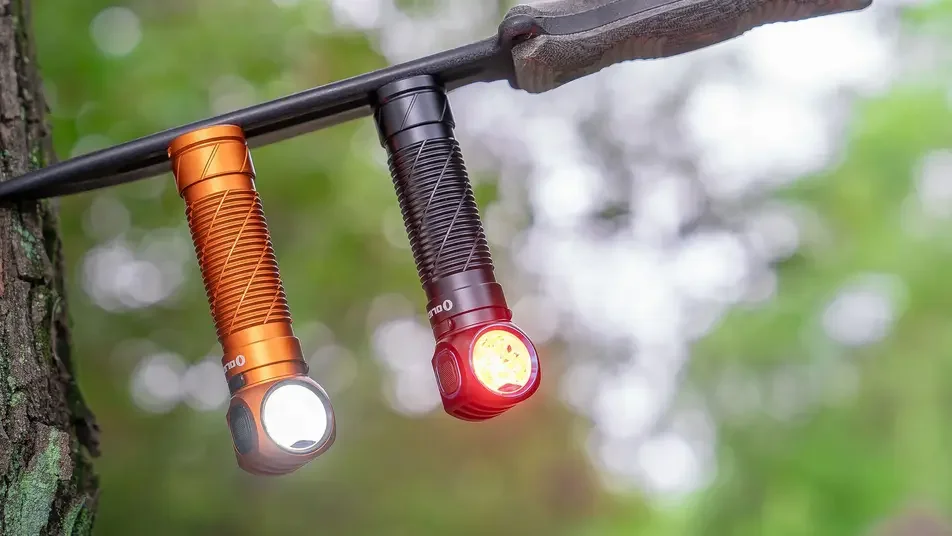
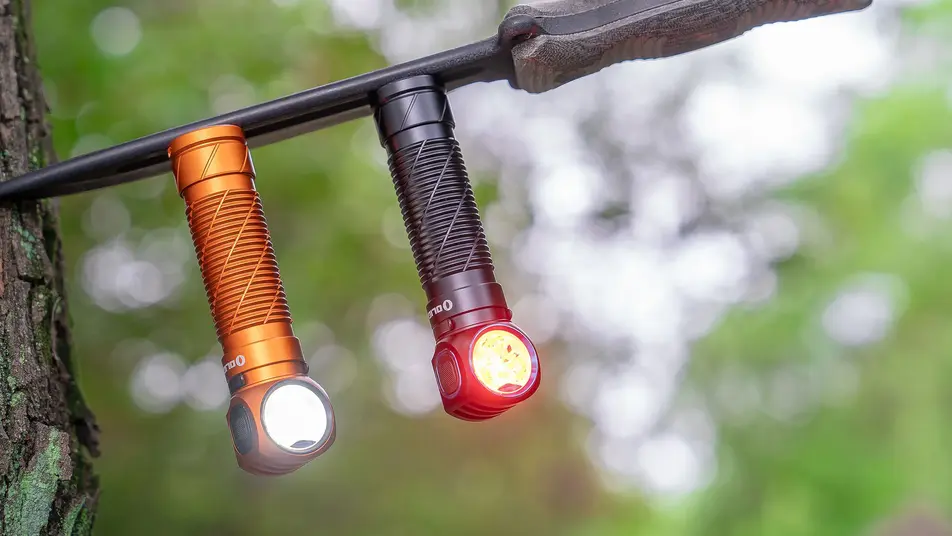
The Perun 3 head torch for how to set up camping lights delivers up to 3,000 lumens on Turbo for scanning tracks, alongside dedicated low white and red modes that preserve night vision during midnight excursions.
 Perun 3 Head Torch
Right-angle rechargeable torch & headlamp
Olight Perun 3 Rechargeable Head Torch
- Max 3,000 lumens white light output with 160-metre beam throw
- Moonlight mode (5 lumens) runs up to 20 days on a 5000mAh 21700 battery
- Red light modes prevent blinding night vision on track walks
- IP68 submersible waterproof rating and magnetic base attachment
Keeping rubbish stations slightly detached from sleeping zones and illuminating them solely during drop-offs prevents nocturnal scavengers from treating your camp as an open buffet.
How many lumens does each zone need?
One of the most frequent mistakes campers make when planning how to set up camping lights is over-illuminating their site. Excessive brightness washes out contrast and forces human eyes into daytime adaptation. A calibrated lumen distribution ensures every task receives adequate illumination without draining battery reserves.
| Camping Zone | Target Lumens | Beam Dispersion | Optimal Hardware Form Factor |
|---|---|---|---|
| Camp Kitchen Bench | 150–300 lm | Wide downward flood (90°+) | Overhead bar, stand-mounted lantern |
| Swag / Tent Interior | 1–50 lm | 360° omnidirectional frosted | Magnetic mini lantern, hanging orb |
| Campfire & Social Ring | 10–40 lm (Warm) | Indirect amber glow | Low-hung perimeter lantern or string |
| Access Paths & Ropes | 1–10 lm | Low-angle ground wash | Peg-mounted micro lights, glow tags |
| Track & Loo Transit | 30–120 lm | Forward focused spot + red mode | Hands-free wearable head torch |
By tailoring brightness to the task, your battery runtime extends significantly. Knowing how to choose camping lights with adjustable lumen output prevents constant recharging during extended off-grid stays.
Which lights should stay on all night, if any?
In remote bush camps, complete darkness supports circadian health, discourages inquisitive wildlife, and shows consideration for fellow travellers. However, leaving minimal navigation markers active can protect young children or elderly campers from hazards. Understanding how to set up camping lights for overnight safety means limiting illumination to sub-lumen guide markers.
If an all-night light is necessary, keep it beneath 5 lumens and direct it strictly toward the ground. Continuous floodlights attract cane toads, possums, and insects, while draining 12V auxiliary storage batteries unexpectedly. Electrical safety standards warn against leaving unattended, unmonitored outdoor circuits energized overnight in damp conditions (Source: Electrical Safety Office Queensland Battery Guidelines).
Frequently asked questions
How do I set up camping lights?
To understand how to set up camping lights, establish four functional zones: install downward task lighting above kitchen tables, place diffused warm lanterns inside tents, secure low-lumen markers along guy ropes, and equip each person with a red-capable headlamp. This zonal approach prevents harsh glare and maintains night-adapted vision.
How to wire LED lights to 12V battery?
Connect an inline blade fuse holder close to the positive terminal of your 12V auxiliary battery, match positive and negative polarity to your LED harness using appropriate gauge multi-strand wire, and seal all connections with heat shrink or weatherproof Anderson connectors to avoid voltage drop and short circuits.
Do 12V LED lights need a transformer?
No, 12V DC camping LED lights run directly from a 12V deep-cycle or lithium battery system without a transformer. A transformer or regulated power supply is only required when running 12V DC lights from 240V AC mains grid electricity.