TL;DR:
Optimising an outdoor headlamp in Australia comes down to terrain-specific light management. Walk on a medium mixed beam (100–150 lumens) angled 30–45 degrees downward for foot path stability, switch to a high-lumen spotlight briefly for route verification, and drop to low or red light mode around campsites to preserve dark adaptation and prevent blinding your companions.
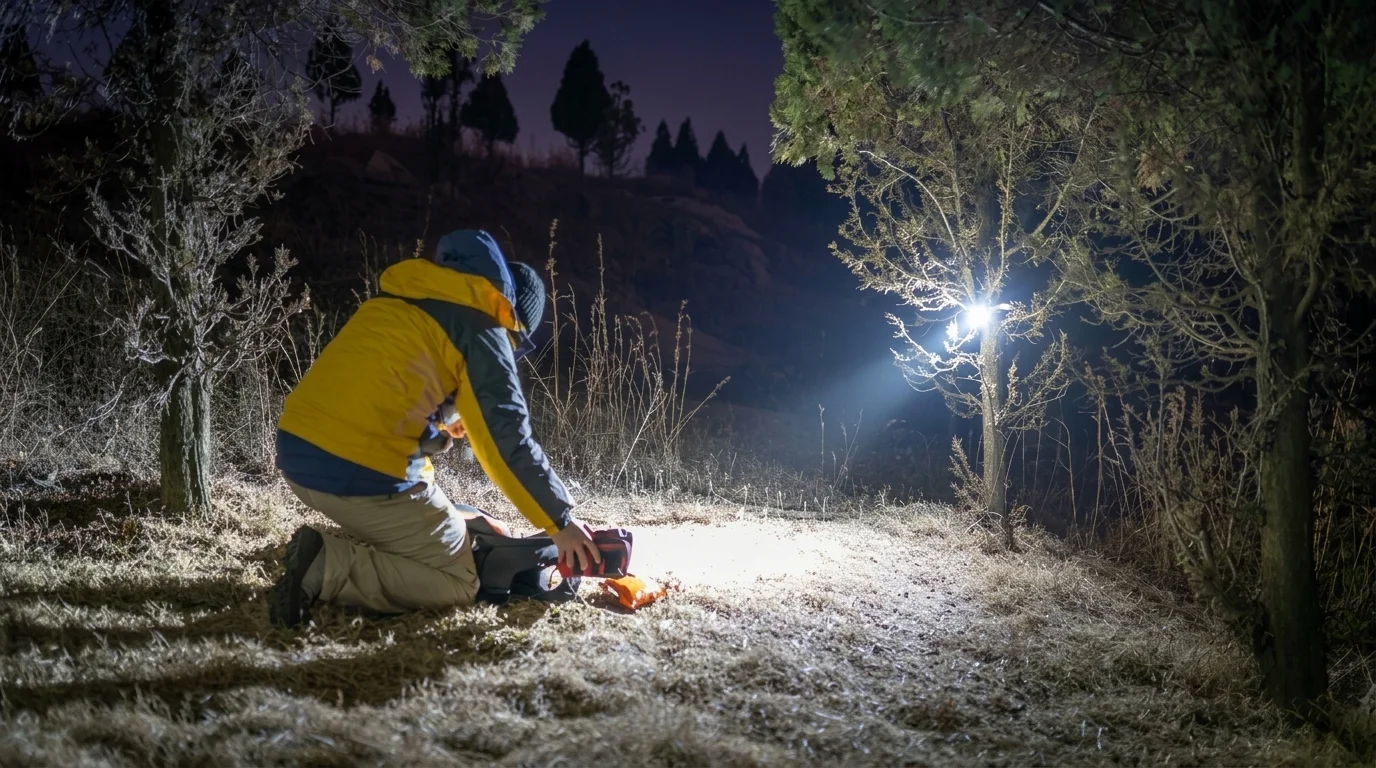
Navigating the Australian bush after dusk demands thoughtful light discipline. Whether tracking along uneven sandstone ledges in the Blue Mountains, bushwalking through alpine scrub, or setting up a swag under dry eucalyptus canopies, knowing how to set headlamp beam geometry directly impacts your trail safety, depth perception, and battery longevity. Modern lighting gear provides extensive controls, from high-lumen bursts to pure flood optics and red light diodes. This guide details how to configure a multi-beam headlamp for every trail scenario, ensuring you get clear visibility without wasting battery reserves or blinding hiking companions.
Australian Trail Scenario & Beam Configuration Matrix
| Scenario | Model | Peak Throw / Candela / Lumens | Weight (with Battery) | Charging Format | Key Trade-off |
|---|---|---|---|---|---|
| Technical Trail & Night Bushwalking | Olight Perun 3 | 3,000 Lumens / 160m Throw / 6,400 cd | 150g | MCC3 Magnetic Charging | High maximum output with proximity sensor safety; slightly heavier for ultralight running. |
| Camp Cooking & Swag Utility | Olight Oclip 2 | 300 Lumens / 60m Throw / Red & White Dual Light | 42.5g | USB-C Direct Input | Ultra-compact clip-on versatility; shorter throw distance for long-range scanning. |
Table of Contents
Quick answer: walk on a medium mixed beam, switch to spot only to read markers ahead, and use low or red at camp and when facing people
Choosing the correct setting comes down to simple operational hygiene. When traversing typical trails, run your torch at a medium mixed beam emitting between 100 and 150 lumens. This output produces sufficient contrast over rocks and roots while maintaining peripheral vision (Source: National Park Service: Night Lighting & Vision Preservation Guidelines).
Keep your headlamp tilted roughly 30 to 45 degrees downward so the central hot spot hits the path 3 to 5 metres in front of your feet. Only cycle into high or turbo spotlight modes when paused to inspect distant navigation ribbons or reflective blazes. Once you halt at camp, drop immediately down to low white or engage red light modes to prevent dazzling nearby walkers and to preserve scotopic dark adaptation (Source: NCBI/PubMed: Scotopic Vision and Light Adaptation Dynamics).
Reading your headlamp's mode map: low, medium, high, turbo and red
Understanding how each light stage works is essential when evaluating how to set up headlamp profiles for backcountry trekking. Most modern multi-beam designs categorise light levels across discrete output tiers, tested under ANSI/NEMA FL1 standards for guaranteed runtime accuracy:
- Moonlight / Ultralow (1–5 lumens): Best for reading topographical maps inside a tent or searching an interior pack pouch without disturbing companions.
- Low (10–30 lumens): Suited for stationary tasks around the fire pit, preparing food, or pitching camp gear.
- Medium (90–150 lumens): The standard walking tier. Balances sustained output, thermal regulation, and reliable multi-hour runtime.
- High (300–600 lumens): Delivers intense illumination through technical terrain, boulder hopping, or dense scrub. Output usually steps down gradually to manage thermal heat.
- Turbo (1,000–3,000 lumens): An emergency search setting that projects maximum candela for short bursts before stepping down to protect internal electronics.
- Red Light: Preserves scotopic vision (dark adaptation) and minimises insect aggregation near your face.

Which beam suits smooth track, rocky steps and creek crossings?
Terrain dictates the optimal beam distribution. On smooth, groomed fire trails, a diffuse wide flood beam works best. It eliminates the harsh "tunnel vision" effect caused by intense hot spots, allowing natural eye movement across the track margins.
When tackling uneven sandstone steps, tree roots, or boulder fields, switch to a combined flood-and-spot profile. The flood component ensures step-edge illumination, while the focused beam casts subtle shadows beneath ledges, giving you the depth perception required to gauge drop-offs accurately.
During creek crossings, wet rocks reflect concentrated beams back into your eyes, creating blinding glare. For wet terrain, drop the output to medium and rely on wide flood lighting to reveal submerged river stones without reflective bounce-back.
What is the ideal headlight beam pattern for camp cooking and map reading?
When you arrive at camp after hours on the trail, high-intensity spot beams become a liability. Preparing meals over a portable stove, reading park maps, or organizing gear inside a tent requires wide, glare-free illumination. Diffuse flood beams between 10 and 40 lumens cast soft light across arm's-length distances without reflecting off stainless steel cookware or white map paper.
When is high-lumen spot mode worth the battery? (Balancing power and runtime)
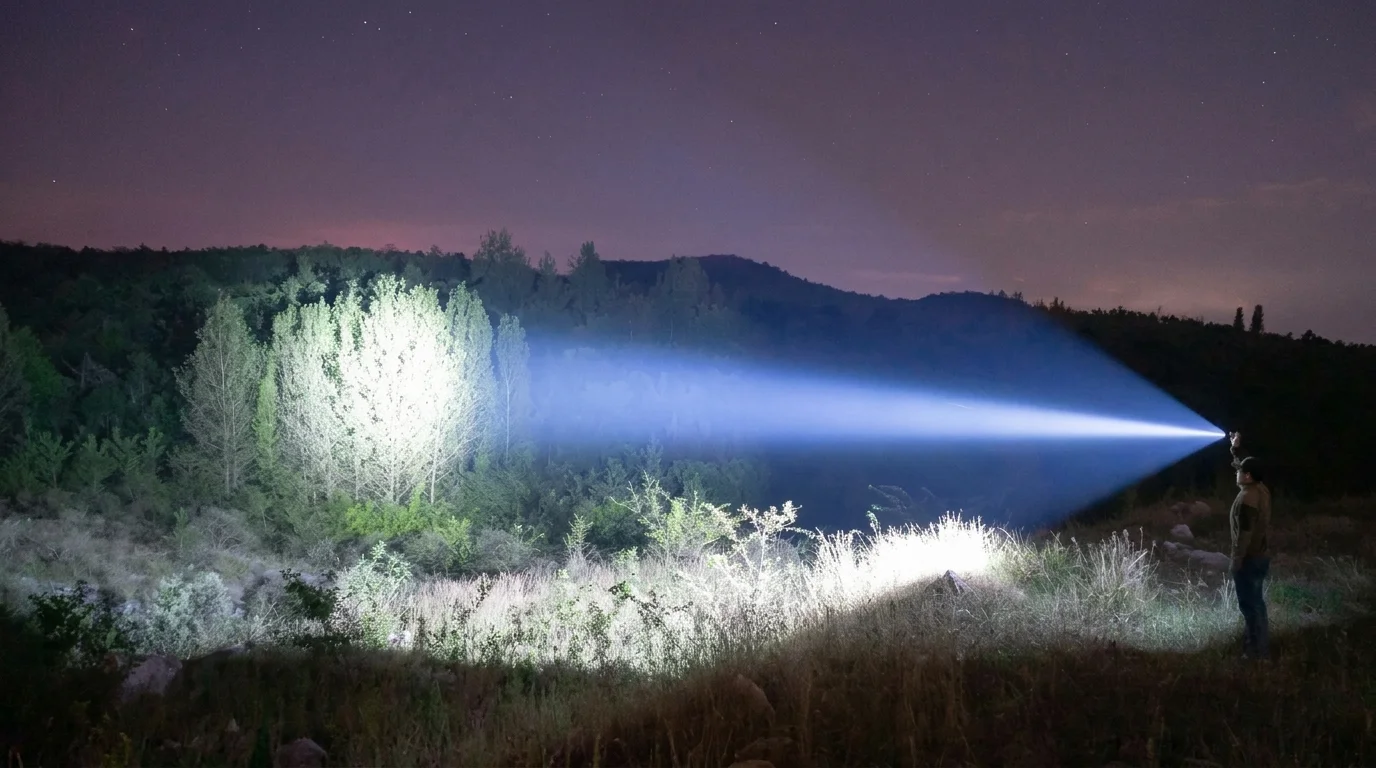
Running a headlamp constantly on High or Turbo drains lithium-ion cells rapidly and causes thermal throttling in warm Australian conditions. High-lumen spot modes should be reserved for short 5-to-10-second bursts to scan ahead for trail markers, assess distant creek crossings, or check tree branches for wildlife hazards before resuming energy-efficient medium modes.
What is the proper way to aim headlights without blinding your mates?
Directing an active beam at eye level is a major trail etiquette violation. Always tilt your lamp body downward at a 30 to 45 degree angle. When stopping to talk with hiking partners, lower your light to Moonlight mode, swivel the head downward, or switch directly to red light. If using a detachable right-angle torch, clip it to your chest strap for natural downward path coverage.
How do you use red light without tripping over?
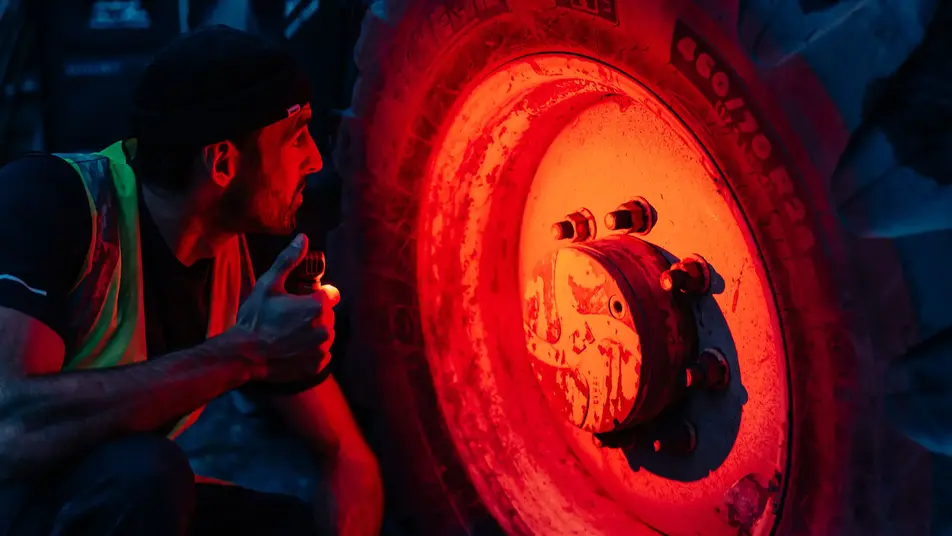
Human eye rod cells are insensitive to long red wavelengths (620–670 nm), meaning red light allows you to perform campsite tasks without destroying night-adjusted vision. While red light is ideal for stationary campsite tasks, tent reading, and star-gazing, its lower contrast makes judging trail depth difficult; keep red light for camp use and switch to white flood when walking on uneven terrain.
Lock-out and mode memory before the pack goes on
Accidental activation inside a backpack can drain your primary battery before you reach the trailhead. Utilizing digital lock-out features or mechanical tailcap lock-outs is essential gear care. Pair your primary right-angle headlamp with a secondary lightweight clip light to ensure backup safety across multi-day wilderness treks.

Olight Perun 3 Right-Angle Headlamp
Built for demanding backcountry navigation, the Perun 3 functions seamlessly as a high-powered headlamp or hand-held right-angle torch. Delivering up to 3,000 lumens with integrated proximity sensors, high-capacity 5000mAh battery, and IPX8 waterproofing, it stands up to harsh Australian wilderness conditions. All purchases include GST and full Australian Consumer Law warranty coverage.
- Max Output: 3,000 lumens; Max Throw: 160 metres
- Versatility: Quick-release headband bracket and pocket clip
- Safety: Smart proximity sensor dims output automatically near obstacles
- Battery: 5000mAh 21700 battery with MCC3 magnetic charger ($159.95 AUD)

Olight Oclip 2 Compact Utility Light
An essential lightweight backup for camp setups and night walks. The Oclip 2 clips directly to hat brims, backpack straps, or tent loops, providing dual white floodlight and night-vision-preserving red light options in a durable, weather-resistant unibody frame.
- Max Output: 300 lumens floodlight with 60m throw
- Dual Light Modes: White flood plus night-adapted Red light
- Attachment: Durable spring clip plus magnetic base
- Charging: USB-C direct fast charging ($49.95 AUD)
Safety Guidelines and Park Regulations in Australia
When bushwalking across state conservation areas managed by Parks Victoria or the NSW National Parks and Wildlife Service (NPWS), carrying a reliable primary headlamp alongside a secondary backup light is a core safety requirement. According to Australian safety advisories from the Australian Maritime Safety Authority (AMSA) and Bushwalking NSW, nighttime outdoor gear should meet IPX8 water-resistance standards to handle sudden downpours and humid conditions during summer 40°C heatwaves or alpine cold snaps. Furthermore, all local purchases are protected under Australian Consumer Law (ACL) managed by the ACCC, ensuring repair, replacement, or refund guarantees for outdoor equipment.
Frequently Asked Questions
How many lumens do I need for night bushwalking in Australia?
For standard trail walking in the Australian bush, 100 to 150 lumens on a medium mixed beam is optimal. This provides sufficient foot path contrast over rocks and roots while conserving battery life and preserving peripheral vision over multi-hour hikes.
How long does the Olight Perun 3 run on medium mode?
The Olight Perun 3 delivers up to 20 hours of continuous runtime on its Medium setting (120 lumens), powered by its 5000mAh rechargeable battery pack, making it ideal for multi-night wilderness trips.
Why is red light better for campsite cooking and tent tasks?
Red light wavelengths preserve biological dark adaptation (scotopic vision) in human eyes, allowing you to move around camp, cook, or read maps without blinding companions or attracting bush insects near your face.
Does a headlamp need IPX8 waterproofing for Australian conditions?
Yes. Australian outdoor conditions range from torrential summer storms to creek crossings and high-humidity tropical environments. An IPX8 rating guarantees submersible water protection, protecting internal circuits under severe weather conditions.