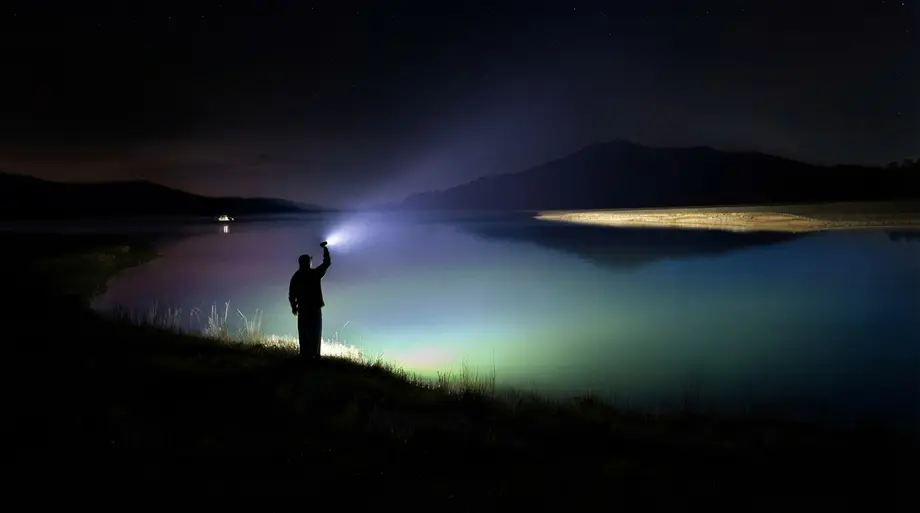
TL;DR: Discover how to master professional how to hold a flashlight techniques for tactical, outdoor, and emergency scenarios. Learn five essential grips—including the Cigar, Ice-Pick, and Harries techniques—to maximize beam control, reduce hand fatigue, and optimize performance with high-power lights like the Olight Seeker Ultra.
Whether you are navigating a dark trail in the Australian bush, searching for lost gear in your backyard, or preparing for tactical emergencies, knowing how to hold a flashlight makes a world of difference. Proper holding techniques maximize light efficiency, reduce arm fatigue, and keep your hands ready for other tasks. Mastering professional grip configurations not only prevents accidental drops in high-stress environments but also transforms your handheld torch into a precision tactical instrument.
Many people simply grab a torch without thinking. However, different scenarios require specialized grips. This comprehensive guide covers five essential flashlight grip techniques, detailing how to execute them and when to use them.
Grip #1 Cigar (Everyday Use)
The Cigar grip is one of the most intuitive and comfortable methods for holding flashlight devices during casual, everyday activities.
How to Execute the Cigar Grip
- Place the flashlight body between your index and middle fingers, just like holding a cigar.
- Position your thumb directly over the tail switch or side button.
- Keep your remaining fingers relaxed or use them to support the base of the flashlight.
Best Applications
This technique works exceptionally well for small to medium-sized everyday carry (EDC) lights. Because it keeps your thumb free to toggle power modes, you can quickly adjust brightness levels without shifting your grip. It is ideal for unlocking your front door at night, reading maps, or inspecting tight spaces. Investing in an ergonomically engineered light with a balanced center of gravity ensures the Cigar grip remains effortless during extended tasks.
Pros and Cons
- Pros: Highly comfortable, minimizes wrist fatigue, and allows quick button access.
- Cons: Offers poor retention if someone tries to grab the light from your hand; not suitable for large, heavy torches.

Grip #2 Ice-Pick (Search & Signal)
The Ice-Pick grip is the go-to posture for search-and-rescue operations, signaling, and general outdoor navigation. It offers maximum control over the direction of the beam.
How to Execute the Ice-Pick Grip
- Grasp the flashlight handle with your entire fist.
- Point the bezel (light-emitting end) down from the bottom of your fist (near your pinky finger).
- Position your thumb flat against the tail cap switch at the top.
- Raise your hand to ear level, keeping your elbow bent.
Best Applications
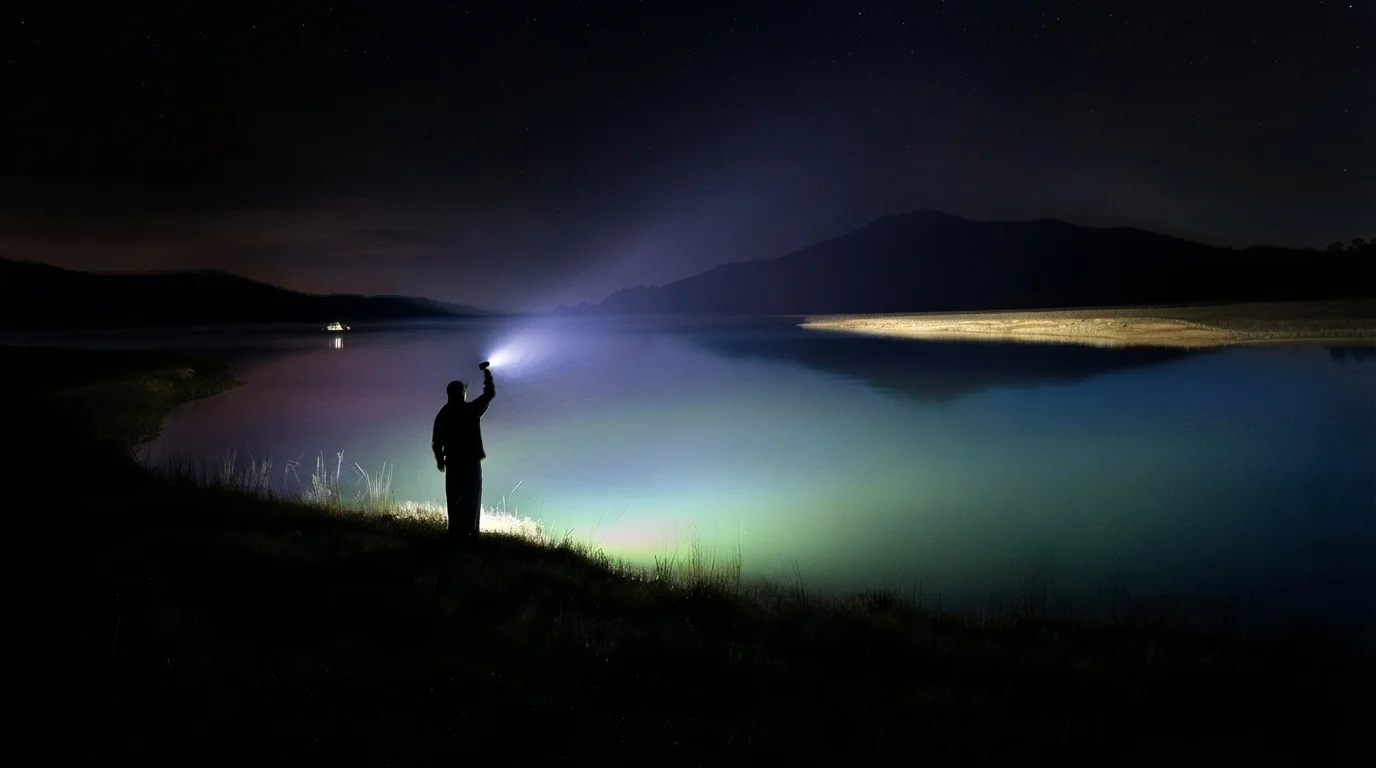
When you need to cast light over a wide area or signal someone in the distance, holding flashlight units at eye level provides the best field of view. Outdoor adventure enthusiasts use this grip to scan trails, look up into trees, or spot obstacles from a high angle.
For heavy-duty outdoor tasks, you need a high-power torch that fits naturally into this full-fisted grip. The Seeker Ultra High Power Torch is designed perfectly for this technique. It features a robust OAL™ body and a comfortable, crocodile-textured silicone grip that prevents slipping during extended search operations. With an output of 4,800 lumens, it easily illuminates large environments from eye level. According to wilderness safety and search protocols outlined by the National Outdoor Leadership School (NOLS), maintaining a secure, full-fisted grip on high-output illumination tools is vital to prevent accidental drops and equipment loss during rugged nocturnal expeditions.

Olight Seeker Ultra High Power Torch
Delivers 4,800 lumens of brilliant illumination with a robust OAL™ body and a secure, crocodile-textured silicone grip tailored for search operations.
Shop Seeker Ultra →Pros and Cons
- Pros: Extremely secure hold, excellent for heavy torches, and keeps the beam aligned with your line of sight.
- Cons: Can cause arm fatigue over long periods due to keeping your hand elevated.
Grip #3 Harries Technique
Originally developed for low-light shooting, the harries flashlight technique is a classic cross-backhand style that provides excellent stability when combining a flashlight with a secondary tool.
How to Execute the Harries Flashlight Technique
- Hold your flashlight in an Ice-Pick grip with your non-dominant hand.
- Pass your flashlight hand underneath your dominant hand (which may hold a tool, compass, or GPS device).
- Press the backs of your hands firmly together to create opposing tension.
- Illuminate your target while keeping your dominant hand stable.

Best Applications
The harries flashlight technique is highly valued by law enforcement, security personnel, and emergency responders. It is also highly useful for hikers who need to navigate rocky paths while holding a walking stick or tracking device. By leveraging structural biometrics to lock your wrists together, this technique guarantees a rock-steady beam even when navigating treacherous, uneven terrain.
Pros and Cons
- Pros: Unmatched stability for two-handed tasks; keeps your light source steady even while moving.
- Cons: Crosses your arms, which can restrict quick physical movement; requires regular practice to master.
Grip #4 Rogers/SureFire Grip
The Rogers/SureFire grip modifies the classic cigar hold to provide a secure, tactical platform. It is designed specifically for torches with tactical tail switches.
How to Execute the Rogers Grip
- Place the flashlight body between your index and middle fingers.
- Secure the flashlight by pressing the tail switch with the meaty base of your thumb.
- Grip the torch tightly by pulling your fingers back toward your palm, locking the light into your hand.

Professional scientists in business attire presenting tech innovations and microelectronic components on an illuminated table using a green laser pointer in a futuristic laboratory.
Best Applications
This method is perfect for situations where you need to quickly toggle the light on and off while maintaining a firm grip. It is widely used in tactical environments, emergency response, and search operations where high-stress handling is expected.
Pros and Cons
- Pros: Strong grip retention; allows you to operate the light quickly under stress.
- Cons: Requires a flashlight with a specific body diameter and a protruding tail switch; can feel awkward for users with small hands.
Grip #5 Ayoob Technique
Created by renowned firearms instructor Massad Ayoob, the ayoob flashlight technique is a forward-facing grip designed for natural alignment and quick targeting.
How to Execute the Ayoob Flashlight Technique
- Hold your flashlight in a forward grip (like a sword or pointer) using your non-dominant hand.
- Place your thumb on the side switch or tail switch.
- Bring your hands together, pressing your thumbs side-by-side.
- Point both your hands directly at the target, creating a parallel line of sight and light.
Best Applications
The ayoob flashlight technique is excellent for home defense, night walks, and search situations. Because your hands do not cross, you can quickly separate them if you need to run, climb, or defend yourself. Selecting a lightweight, high-lumen pocket torch ensures this tandem hand posture feels natural and unencumbered during fast-paced movement.
Pros and Cons
- Pros: Very natural and fast to align; does not restrict arm movement; easy to learn.
- Cons: Does not provide the physical physical locking support of the Harries technique.
Choosing the Right Grip for Your Use Case
Mastering how to hold a flashlight is all about matching the grip to your environment. Use this quick reference guide to select the best hold for your next adventure:
| Scenario | Recommended Grip | Why It Works |
|---|---|---|
| Camping & Night Walking | Cigar Grip | Relaxed, comfortable, and easy to adjust modes. |
| Search & Rescue | Ice-Pick Grip | High-angle light control and maximum area illumination. |
| Tactical & Low-Light Navigation | Harries / Ayoob | Maximizes stability and coordinates with tools or navigation gear. |
| Everyday Work & Maintenance | Rogers Grip | High retention and easy one-handed activation. |
To get the most out of these grips, practice transitioning between them. Having the right tool, like a durable, high-lumen torch with a reliable grip texture, ensures you can handle any situation with confidence.