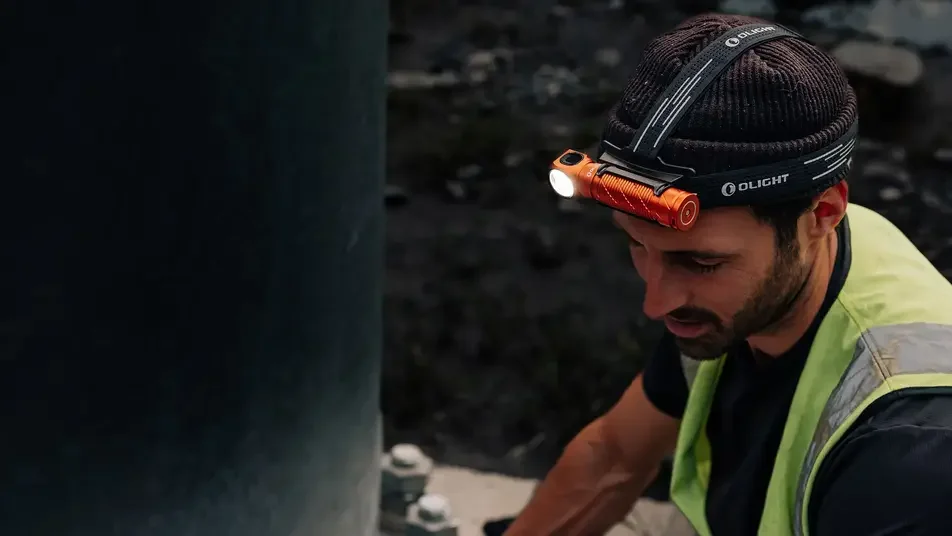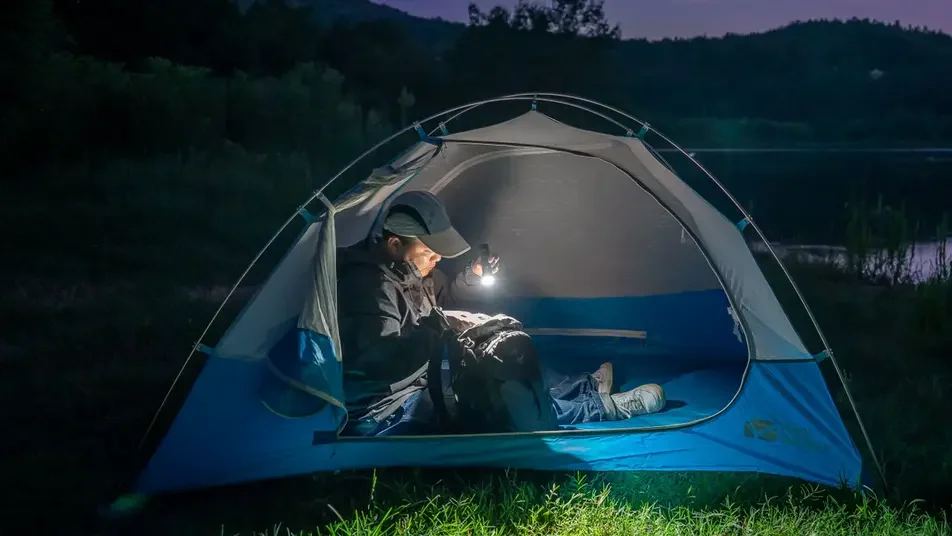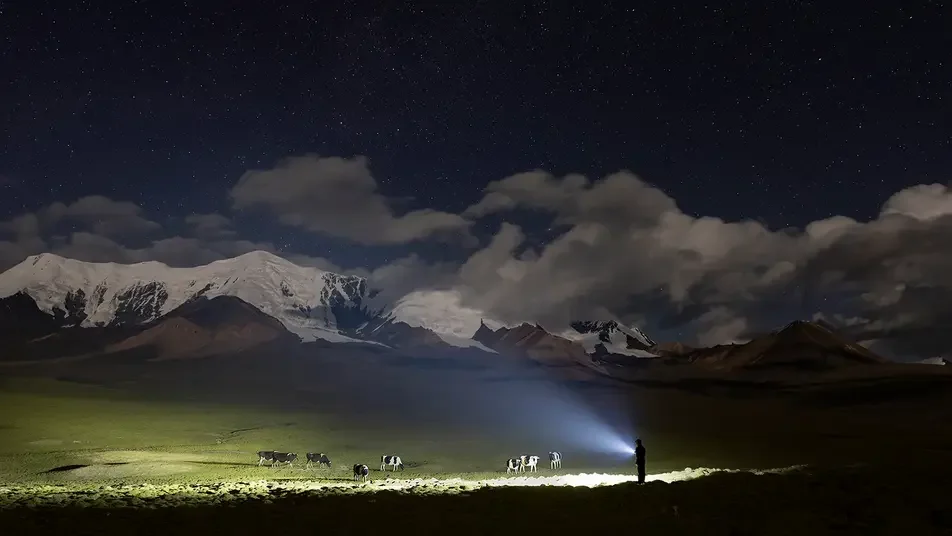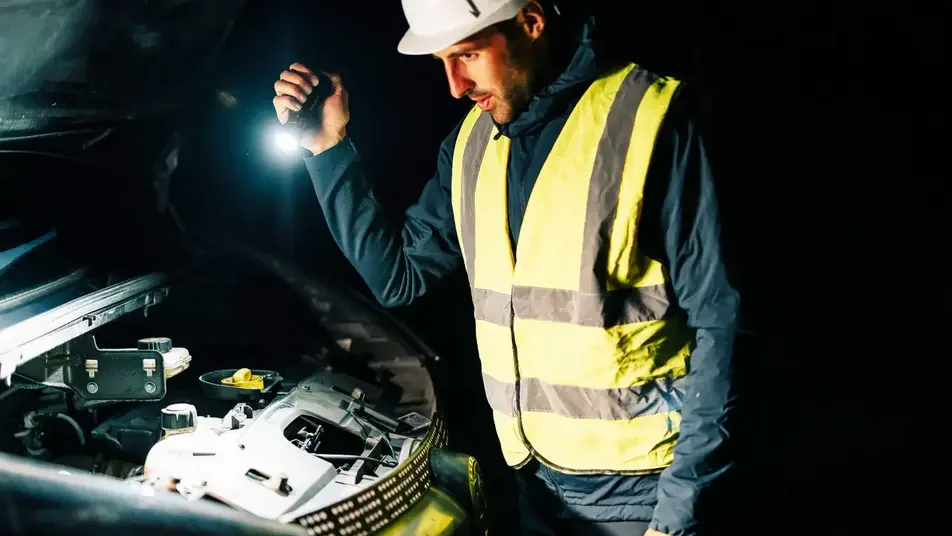

| Feature | Trail Walking | Off-Track Scrambling | Camp & Recovery |
|---|---|---|---|
| Sustained Lumens | 100–250 lm | 300–600 lm | 5–30 lm (or Red) |
| Beam Profile | Wide flood with soft hotspot | Long throw & broad peripheral | Pure diffused flood |
| Target Runtime | 6–10 hours | 3–5 hours | 20+ hours |
| Backup System | Clip torch or compact spare | Dedicated head torch + spare cell | Pocket EDC light |
Venturing into the Australian bush after dusk demands dependable gear and deliberate pacing. When learning how to choose a headlamp for hiking, your choice must account for sudden mist, uneven sandstone tracks, and rapid temperature changes. The right headlamp for night hiking must deliver steady, glare-free ground visibility while preserving sufficient reserve power to bring you back to the trailhead safely.
- Quick Answer: Optimal Beam Output and Turnaround Timing
- Beam Shape on Rocky Steps, Roots and Creek Crossings
- How Do You Calculate Runtime for Actual Walking Hours?
- Setting a Turnaround Time and Sticking to It
- Is a Spare Light or a Spare Battery the Better Backup?
- Trail Markers, Reflectors and Not Losing the Track
- Night Hiking Safety and Park Rules
- Frequently Asked Questions
Quick answer: use a mixed flood-and-spot head torch around 400–1000 lumens, run it on medium and plan a turnaround time before dark
For general track trekking, a lighting system capable of bursts up to 1000 lumens allows quick orientation, but running between 100 and 300 continuous lumens provides the clearest footing without draining capacity prematurely. Setting your operational limits before stepping off prevents sudden blackouts in rugged terrain. Choosing a dedicated headlamp for night hiking ensures your peripheral view remains clear while conserving power across long ascents.
Beam shape on rocky steps, roots and creek crossings
A narrow, pencil-thin spotlight creates tunnel vision on rugged paths, causing severe eye strain as you step over exposed eucalyptus roots and loose gravel. Conversely, a wide flood distribution illuminates your immediate lateral stride. Navigating creek boulders requires genuine depth perception, which flat white spotlights can wash out. A mixed optical setup provides soft peripheral dispersion alongside a centred throw to reveal slippery wet rocks ahead.
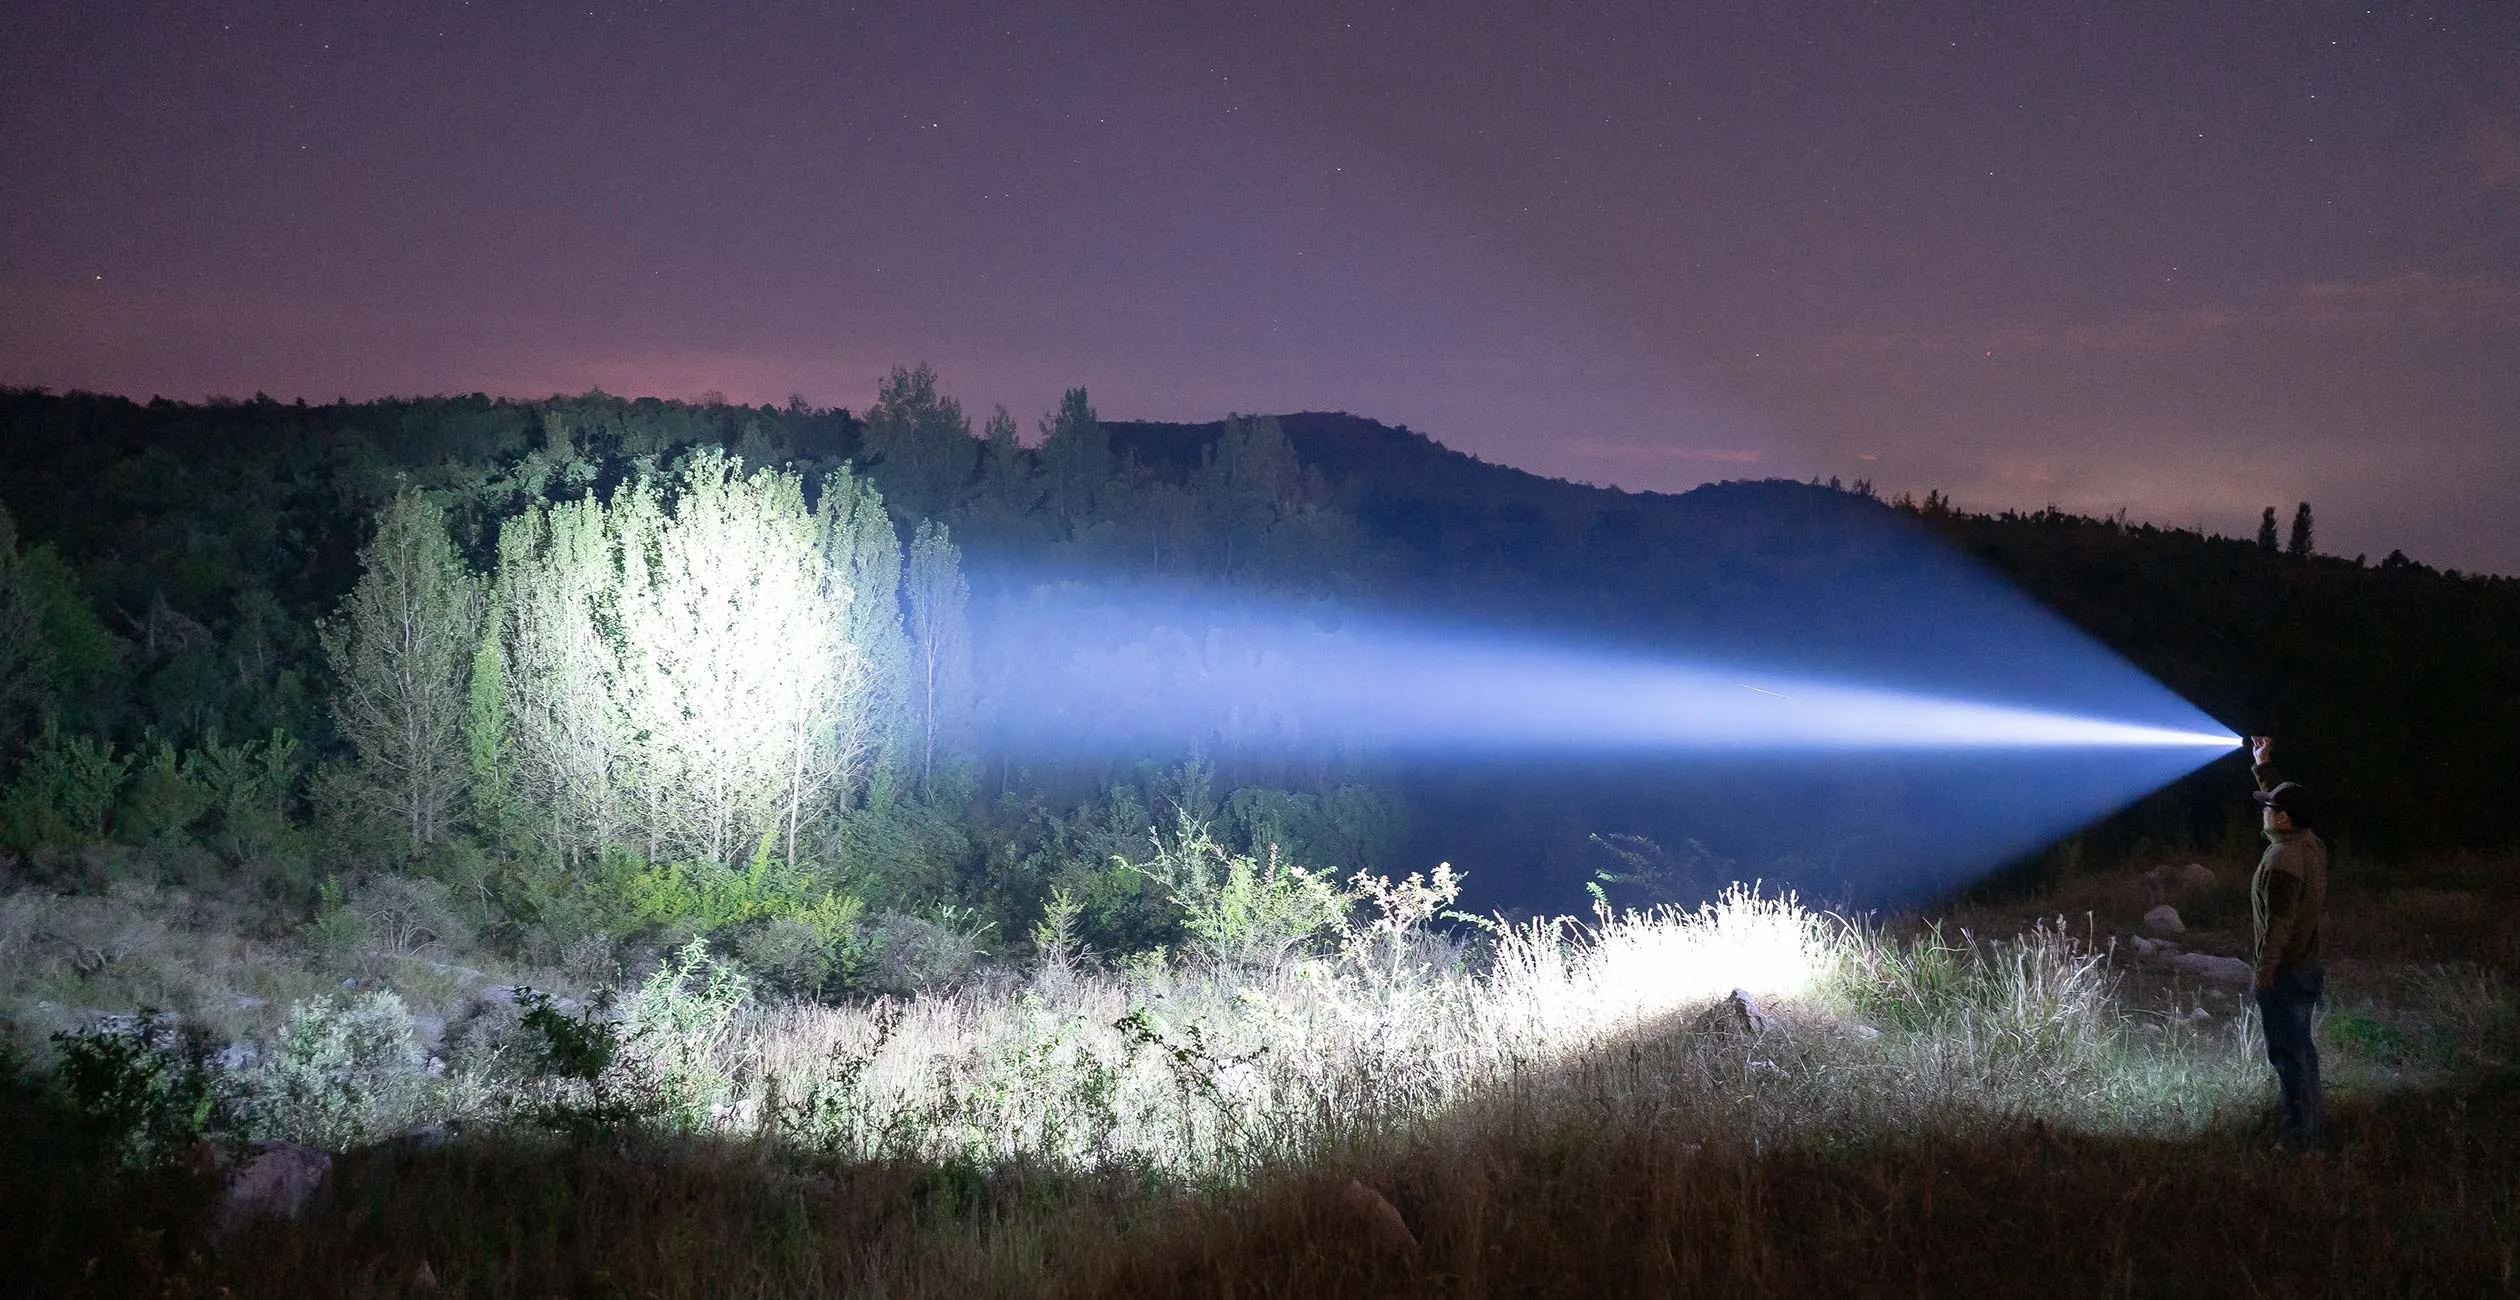
When traversing descending rock ledges, angling your light downward prevents harsh reflections off quartz and sandstone surfaces. When picking a headlamp for night hiking, check that the mounting bracket tilts smoothly so you can direct the beam directly at your feet without bending your neck downward for hours.
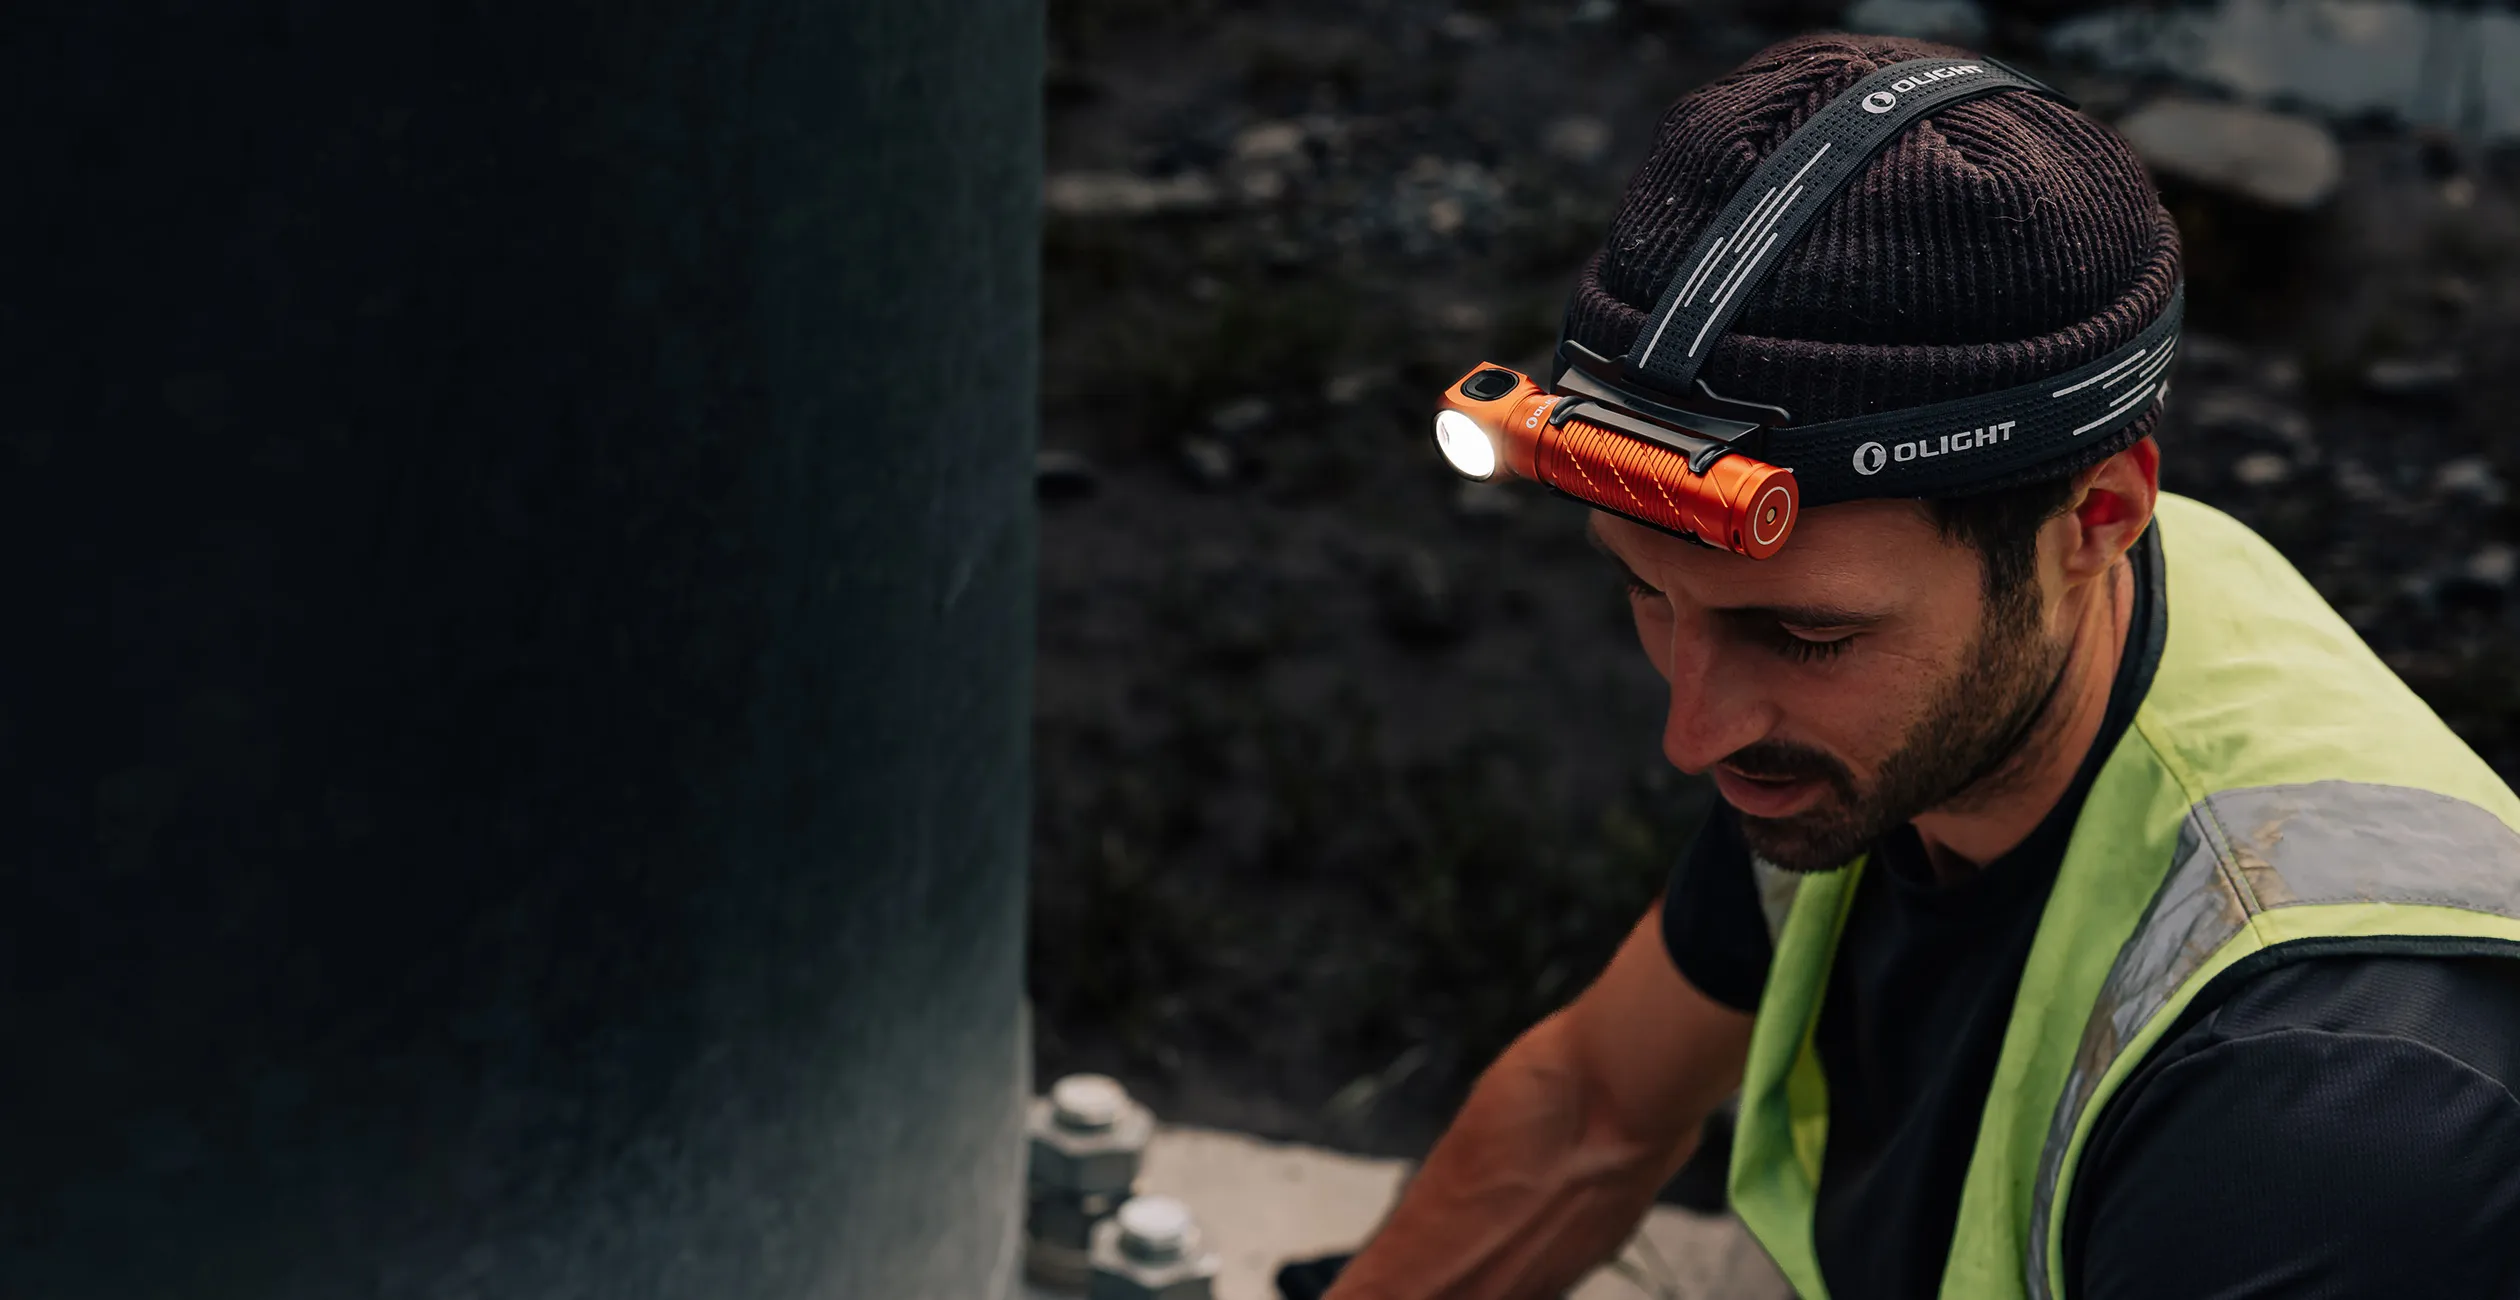
Olight Perun 3 Multi-Use Head Torch
Delivers up to 3,000 lumens on Turbo and sustained 120 lumens for 25 hours on Medium. Equipped with white and red LEDs, a high-capacity 5000mAh 21700 battery, and IP68 waterproof protection for demanding bush tracks.
- Max Throw: 160 metres (6,400 cd)
- Battery: 5000mAh 21700 rechargeable lithium-ion
- Durability: IP68 submersible, 1.5m drop resistance
How do you calculate runtime for the hours you will actually walk?
Factory runtime charts often reflect step-downs governed by thermal throttling. Under standard ANSI/PLATO FL 1 testing protocols, runtime measures the total time until output drops to 10% of the initial value. If an advertised 1000-lumen output steps down to 200 lumens after two minutes, relying on the top-end figure will distort your trip safety margins.
To build a realistic bushwalking buffer, always evaluate the stable medium profile. If an expedition requires four hours of dark navigation, select a headlamp for night hiking that guarantees at least eight continuous hours at 120–200 lumens. Cold mountain air in alpine regions further reduces lithium-ion cell capacity, making a 50% capacity margin essential.
Setting a turnaround time and sticking to it
Establishing a definitive turnaround deadline prevents night hikers from becoming stranded on unfamiliar ridges. Calculate your total journey time by factoring in a 30% speed reduction once darkness settles over rough bush tracks. If sunset occurs at 18:00 and your planned route requires three return hours, your immutable turnaround point occurs precisely at 16:30, irrespective of whether you have reached the planned summit.
Comprehensive trail safety protocols emphasize leaving full route details with a trusted emergency contact before heading out. Preparing reliable equipment and adhering strictly to scheduled turnaround points significantly reduces search and rescue callouts across state parks (Source: NSW National Parks and Wildlife Service Bushwalking Safety).
Is a spare light or a spare battery the better backup?
Carrying a secondary battery is useful, but it does not protect against physical drop impacts, switch damage, or water ingress. Replacing a lithium cell on an exposed, rain-swept ridge in complete darkness invites dropping the battery into deep undergrowth. A self-contained secondary torch attached to your pack strap or pocket provides instant lighting if your primary light fails.

Olight Oclip 2 Pro EDC Backup Torch
Weighing only 75.5g, this versatile secondary light features 530 lumens maximum output, independent spotlight and floodlight beams, and red illumination. Clips easily to harness webbing or hat brims.
- Output & Distance: 530 lumens, 125m spotlight throw
- Flexibility: 115° tilting head with 360° rotating clip
- Charging: Dual USB-C and magnetic charging options
Packing an independent, clip-on secondary torch alongside your main headlamp for night hiking ensures you never navigate track switchbacks in total darkness while managing battery maintenance.
Trail markers, reflectors and not losing the track
Australian track management authorities utilize coloured plastic triangles, tree blazes, or retroreflective tags to indicate trail corridors. Spotting reflective markers across dense scrub requires sufficient optical throw. While flood beams illuminate immediate hazards, switching momentarily to a focused 500-lumen beam allows retroreflective markers to catch light hundreds of metres away.
Official outdoor guidelines stress the necessity of carrying a topographic map and compass rather than relying entirely on mobile navigation apps or trail markers (Source: Bushwalking Victoria Safety and Track Guidelines). Pairing physical navigation with a versatile headlamp for night hiking guarantees you maintain situational orientation in dense scrub.
Night hiking safety and park rules
Many conservation parks implement specific entry regulations after twilight to protect fragile nocturnal wildlife and native fauna. State park agencies regularly review track closures during periods of extreme fire weather or localized flood risks (Source: Queensland Parks and Forests Visitor Safety). Respecting these restrictions keeps hikers safe from seasonal hazards.
Low-intensity red light settings protect your natural night vision and reduce disturbance to arboreal marsupials feeding in the tree canopy. Using a multi-mode headlamp for night hiking gives you the flexibility to respect wildlife zones without compromising your track visibility.
Frequently asked questions
Is it what's the best headlamp for overnight hikes?
The best lighting system for multi-day overnight treks features a high runtime-to-weight ratio, dependable water resistance, and an auxiliary low-lumen or red mode. A versatile light like the Olight Perun 3 provides 120 lumens for up to 25 continuous hours, ensuring ample power across multiple evenings without frequent charging stops.
How many lumens do I need for night hiking?
A sustained output of 100 to 250 lumens is ideal for navigating marked trails and rocky terrain without inducing ground glare. A peak capability of 500 to 1000 lumens is beneficial for brief spot-checks when identifying distant markers or negotiating deep river crossings.
What is the best headlamp for walking at night?
For evening strolls and paved trail walking, a lightweight hands-free torch delivering between 80 and 200 lumens with a wide, soft flood optic provides the most natural peripheral visibility. Selecting a dependable headlamp for night hiking that tilts downward ensures clear foot placement while keeping pack weight minimal.