When you're preparing for an adventure in the great Australian outdoors, the last thing you want is for your gear to fail. A reliable torch is a non-negotiable piece of equipment, and Olight has established itself as a top choice for enthusiasts who demand performance and durability.
However, even the best torch is useless with a dead battery. Understanding how to properly charge your Olight torch ensures it’s always ready when you need it, maximizing its performance and lifespan.
This guide provides a straightforward look at how to charge your Olight torch, whether it uses the proprietary magnetic charging system or a standard USB-C port. We will also break down the factors that determine charging time to give you a realistic idea of how long it really takes to get your torch back to full power.
How to Charge Olight Torch
Olight torches are designed for convenience and efficiency, offering several user-friendly charging methods. The two primary systems you will encounter are the Magnetic Charging Cable (MCC) and the increasingly common USB-C port. Knowing the specifics of each will help you keep your torch powered up safely and effectively.
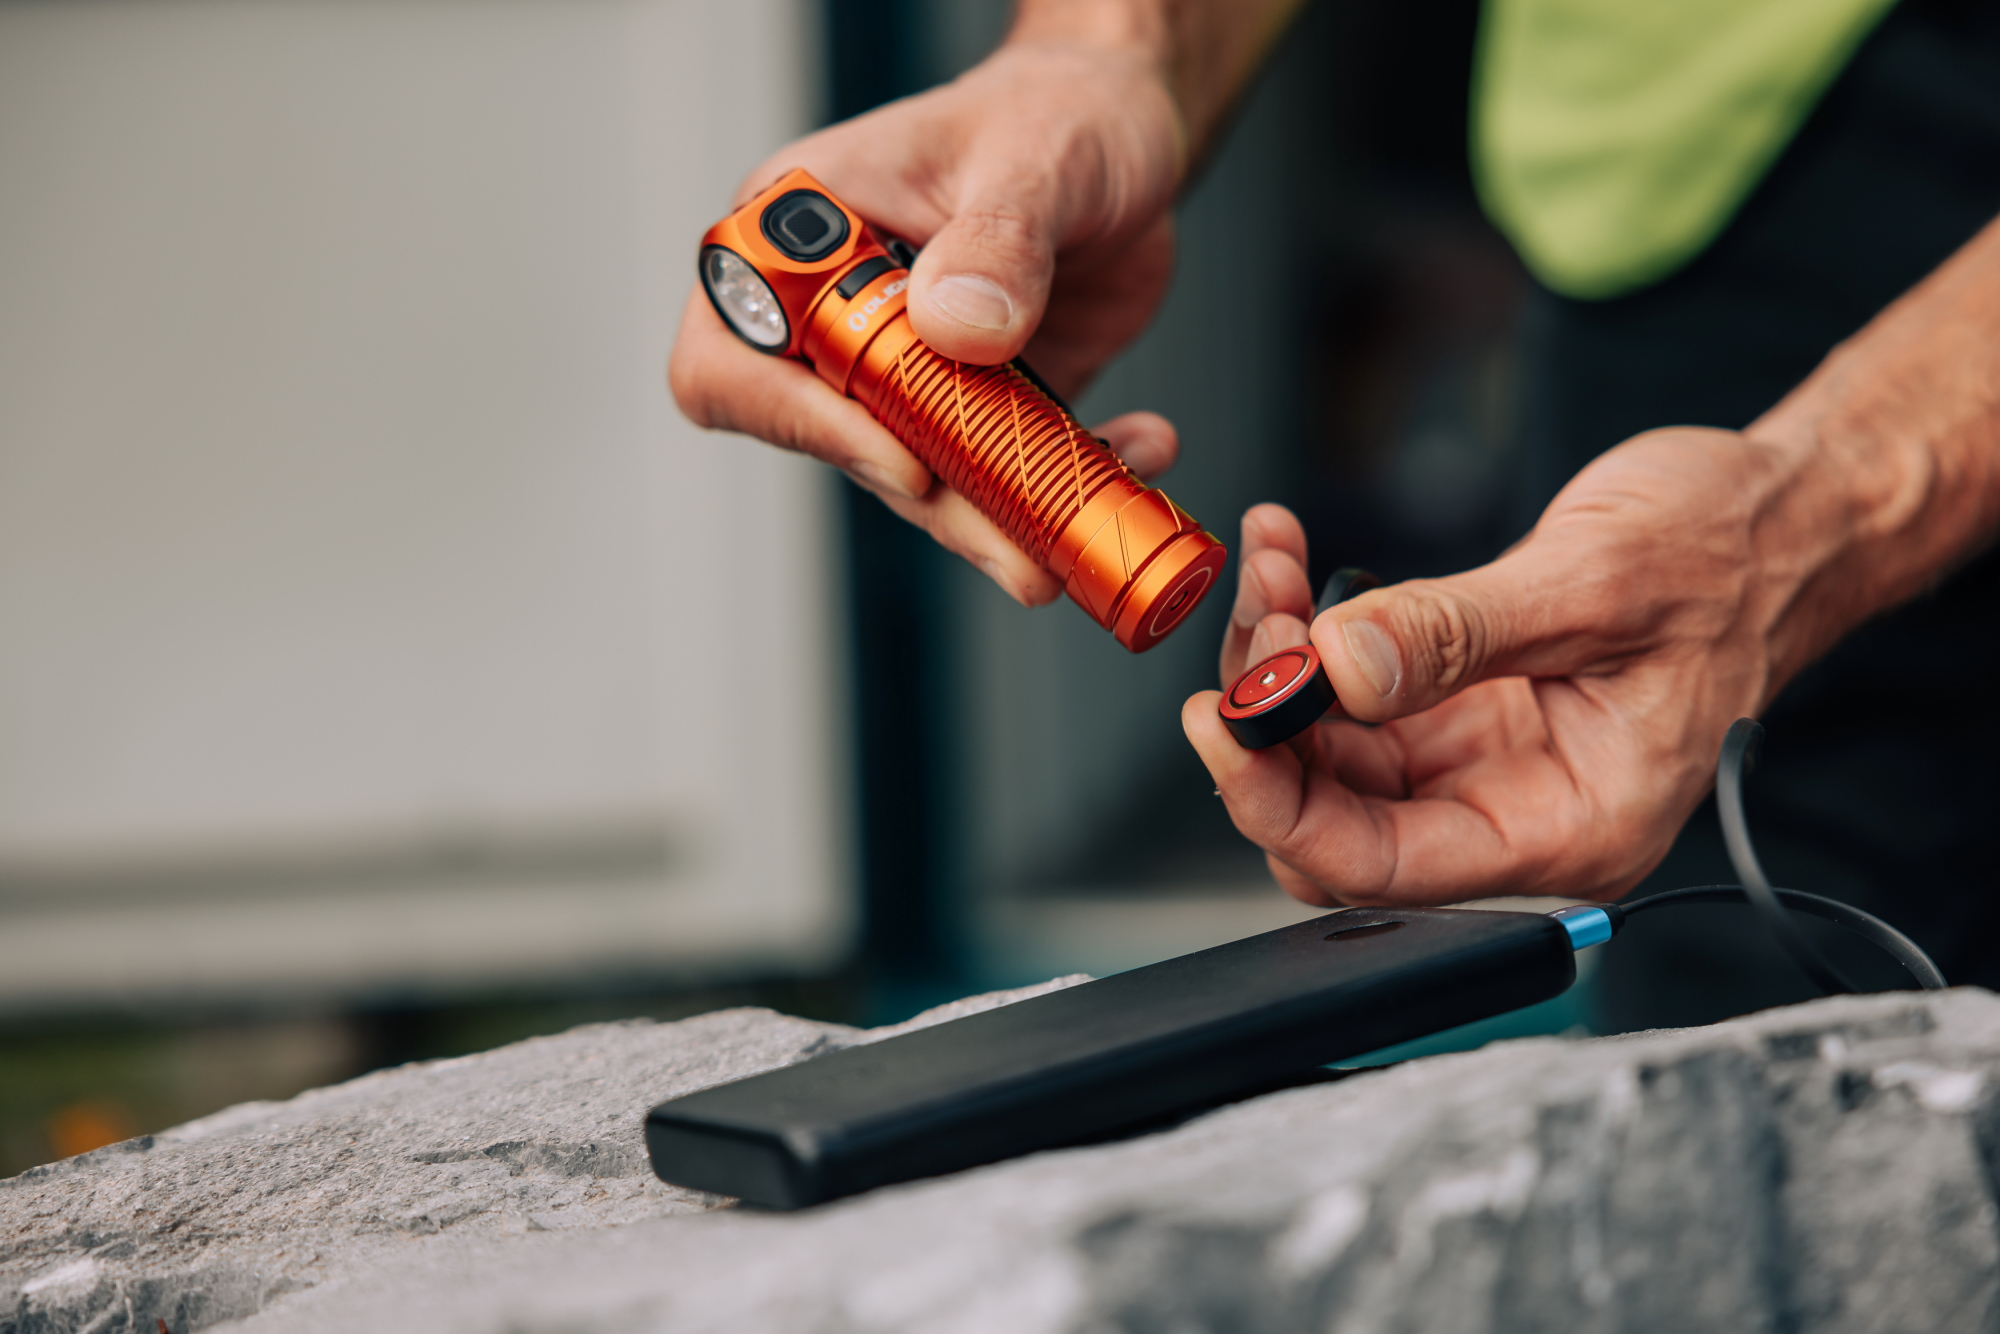
Magnetic Charging Cable (MCC)
The signature MCC system is one of Olight's most recognizable features. It’s designed for a quick, secure, and hassle-free connection every time.
How it Works:
1. Connect the USB-A end of the MCC cable to a power source like a wall adapter, power bank, or laptop.
2. Simply bring the magnetic end of the cable close to the tail cap of your Olight torch. The magnet will automatically snap into place, creating a solid connection and beginning the charging process.
3. An indicator light on the magnetic connector will show the charging status: typically red while charging and green when the battery is fully charged.
Benefits:
- Convenience: The snap-on connection is fast and effortless, even in the dark.
- Durability: It eliminates the wear and tear associated with traditional plug-in ports.
- Water Resistance: The sealed magnetic port maintains the torch's high waterproof rating, as there is no physical opening for water to enter.
Many versatile models, such as the Perun 3 Led Rechargeable Head Torch, rely on this reliable magnetic system, making it perfect for rugged, all-weather use.
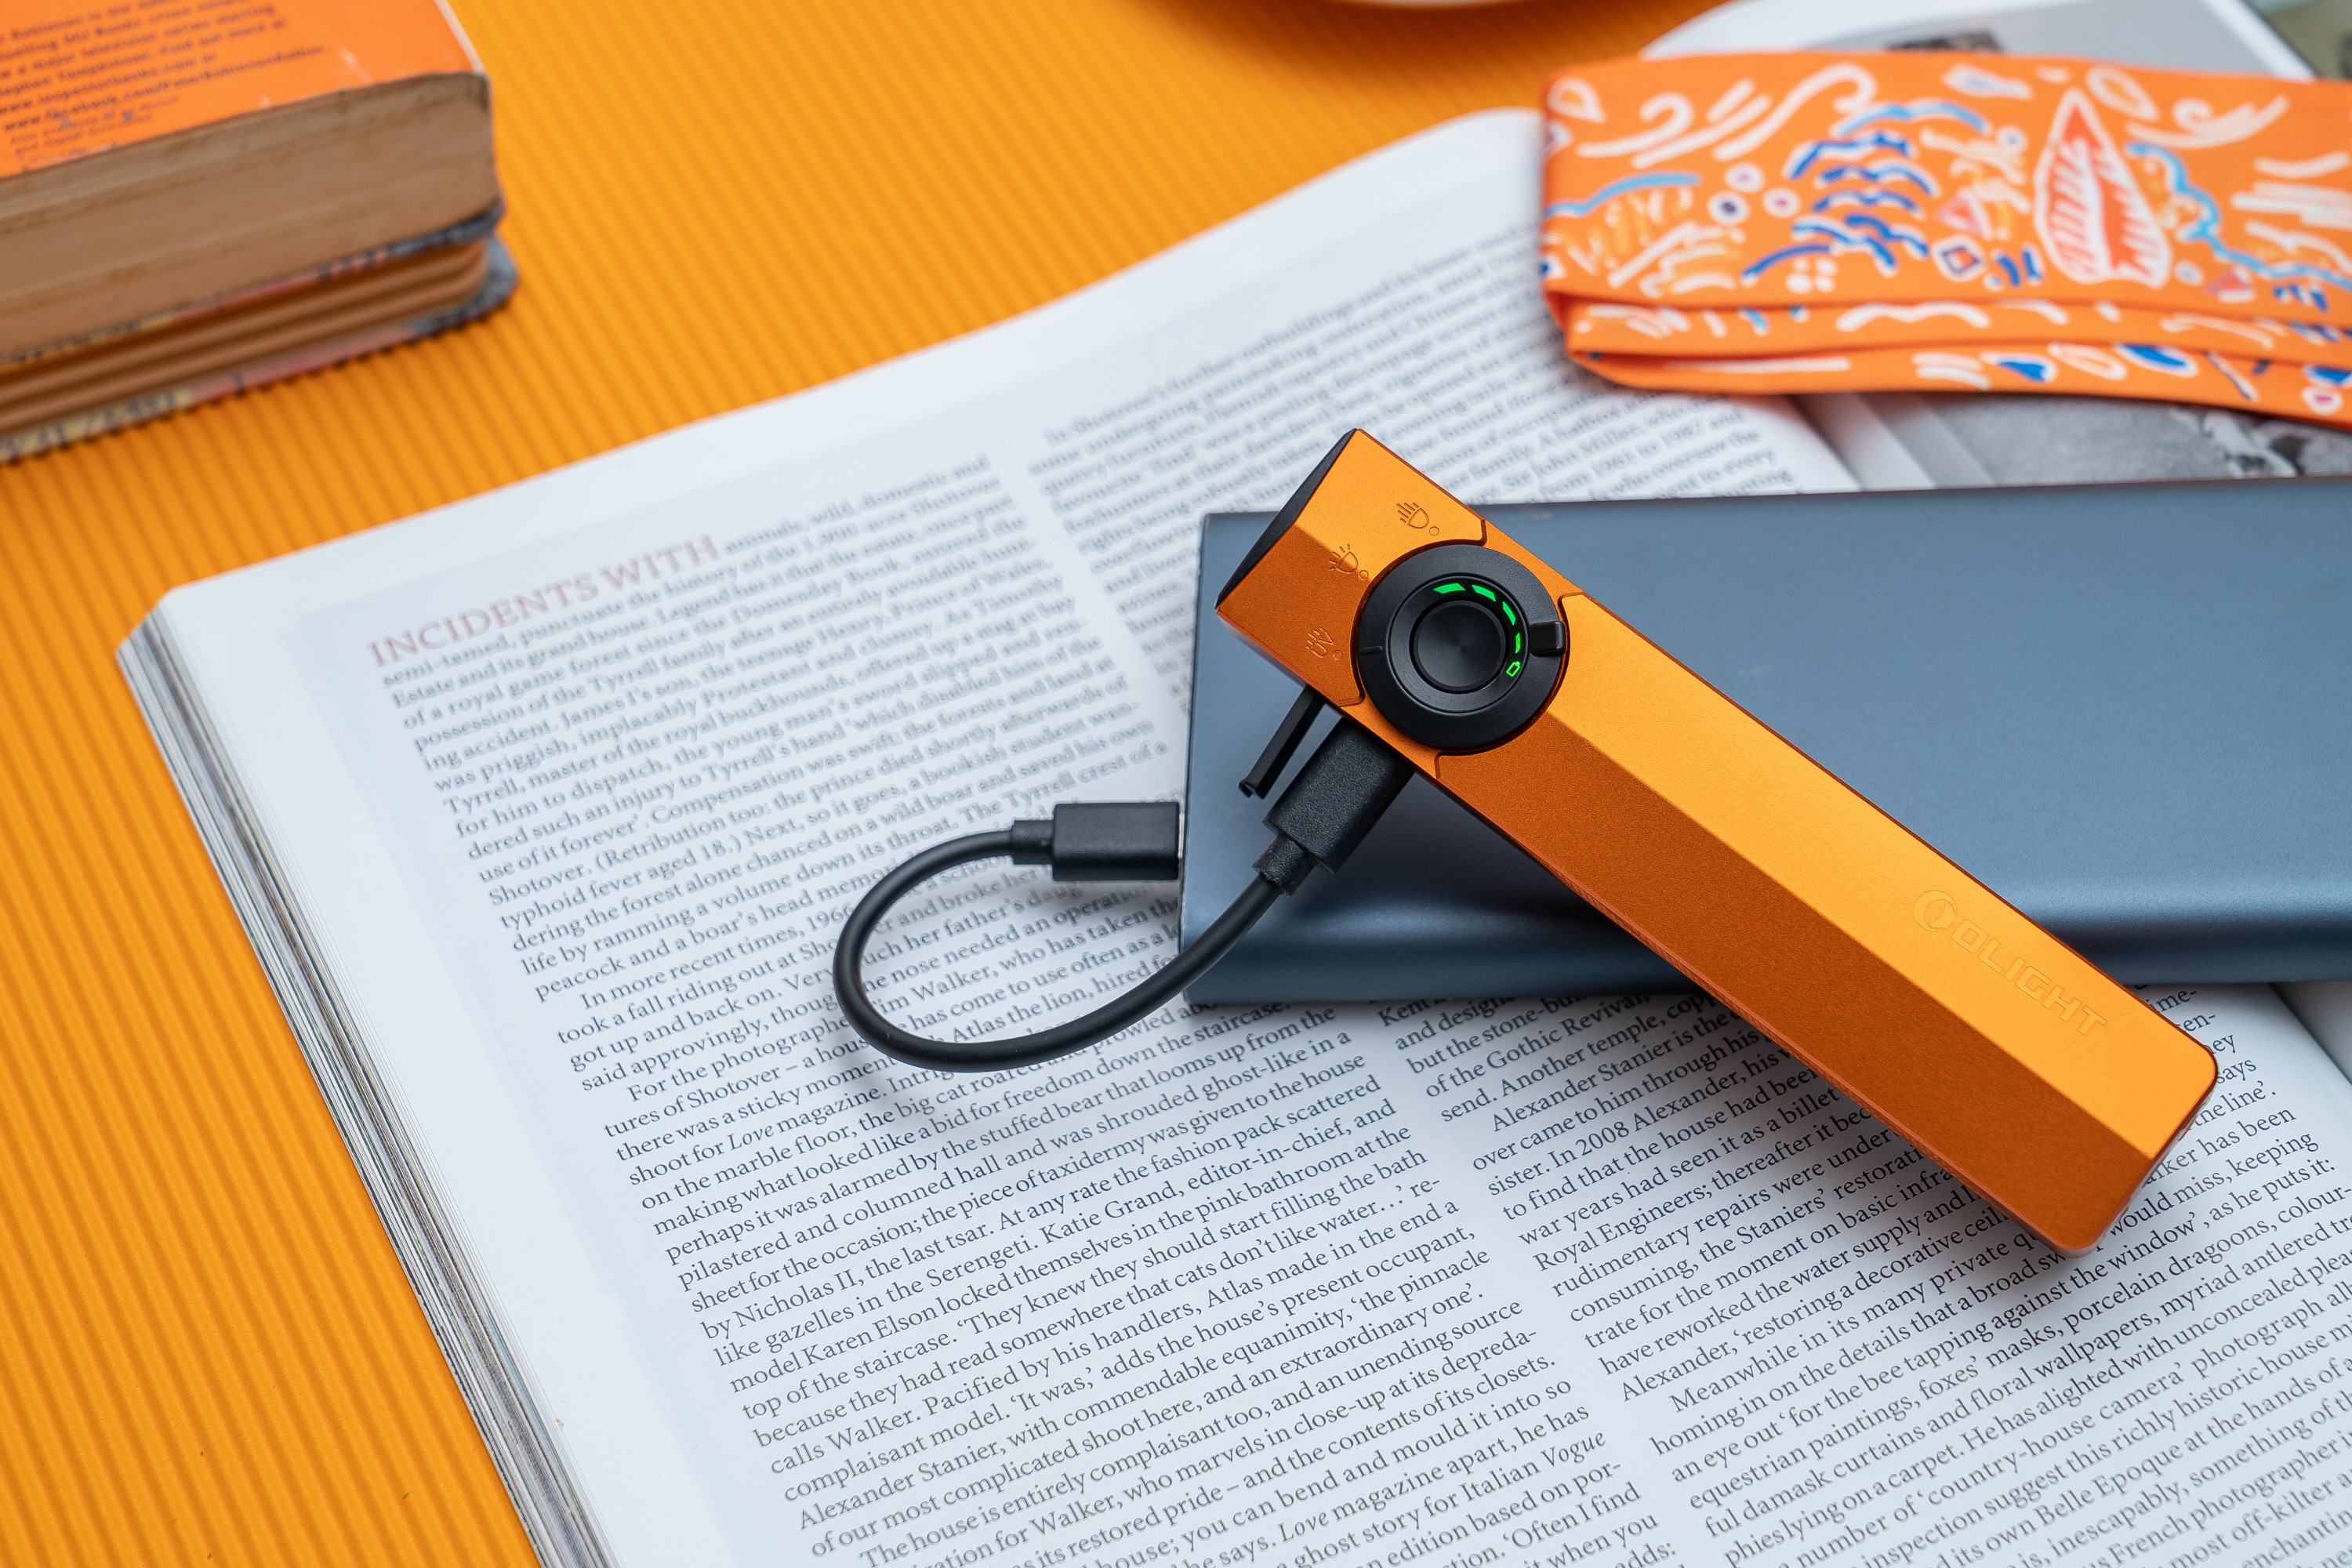
USB-C Charging
To align with modern electronics, many new Olight models incorporate a standard USB-C charging port. This offers universal compatibility and often faster charging speeds.
How it Works:
1. Locate the USB-C port on the torch body. It is usually protected by a rubber or silicone dust cover to maintain water resistance.
2. Lift the cover and connect a standard USB-C cable to the port.
3. Connect the other end of the cable to a compatible power source.
4. The torch will typically have on-body battery level indicators that flash during charging and turn solid or change colour when charging is complete.
Benefits:
- Universality: You can use the same cable that charges your phone, tablet, or laptop, reducing the number of cables you need to carry.
- Fast Charging: USB-C ports can handle higher power delivery, significantly reducing charging times for larger batteries.
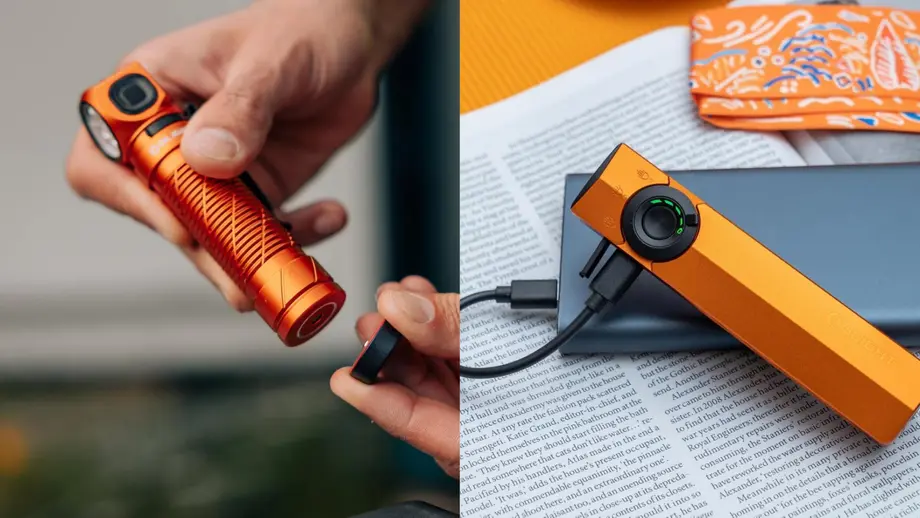
- Flexibility: Some models, like the innovative Arkpro Series Flat Led Torch, offer both USB-C and magnetic charging, giving you the best of both worlds.
Safety and Best Practices for Charging
To ensure the longevity and safety of your torch and its battery, follow these simple guidelines:
- Use Official Cables: Always use the Olight-provided MCC or a high-quality, certified USB-C cable.
- Keep It Clean: Before charging, make sure the magnetic port and cable connector are clean and free of debris.
- Charge in a Safe Environment: Avoid charging in extremely hot or cold temperatures.
- Don't Mix Batteries: Only use the specific customized Olight battery that came with your torch.
How Long Does Olight Torch Take to Charge
The question of "how long does it take to charge an Olight torch?" doesn't have a single answer. The time can vary significantly based on several key factors.
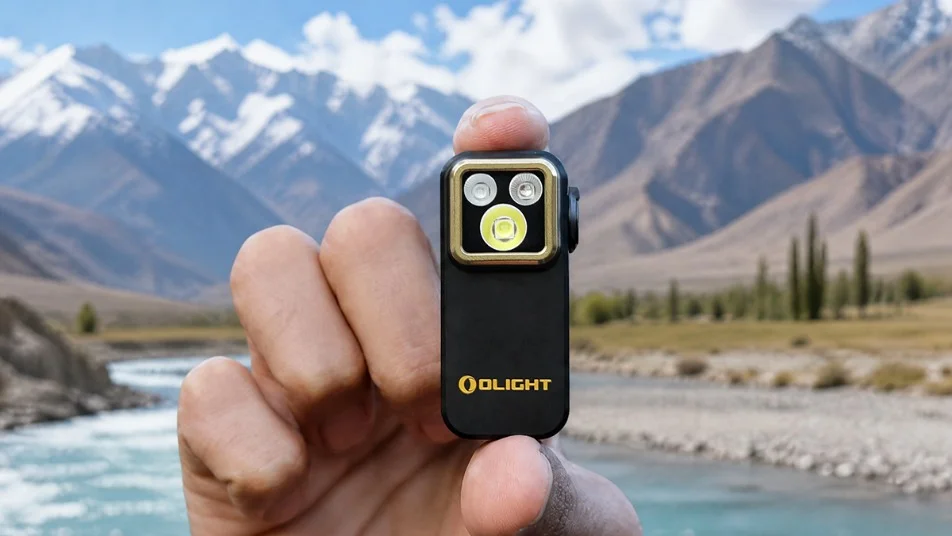
- Battery Capacity (mAh): This is the most significant factor. A high-capacity battery, like the 5000mAh battery in the Perun 3, will naturally take longer to charge than the smaller 700mAh battery in an ambient light like the Sphere.
- Charging Method and Current: The type of charging cable and the output of your power source play a crucial role. Olight's MCC3 cable charges faster than the older MCC1A. Similarly, a 2A wall adapter will charge a torch faster than a 0.5A computer USB port.
- Remaining Battery Level: A fully depleted battery will require the full charging cycle, whereas topping up a partially charged battery will be much quicker.
To give you a clearer picture, here is a comparison of approximate charging times for 2 popular Olight models.
| Torch | Battery Capacity | Charging Method(s) | Estimated Full Charge Time |
|---|---|---|---|
| Perun 3 | 5000mAh | MCC3 Magnetic Cable | Approximately 4 hours |
| ArkPro | 2000mAh (Built-in) | USB-C / Magnetic Cable |
Approximately 1.5 hours (via USB-C) Approximately 3 hours(via MCC) |
As the table shows, a high-performance head torch like the Perun 3 requires more time due to its massive battery, which is designed for extended runtime. In contrast, a compact EDC light like the ArkPro, especially when using its fast USB-C port, can be powered up in under two hours.
By understanding the charging process and the factors that influence it, you can properly maintain your Olight torch and ensure it's always ready for your next journey. With its combination of power, durability, and user-friendly charging, Olight remains a trusted companion for any adventure.